15th July 2020
The smaller the things, the longer they take !
 |
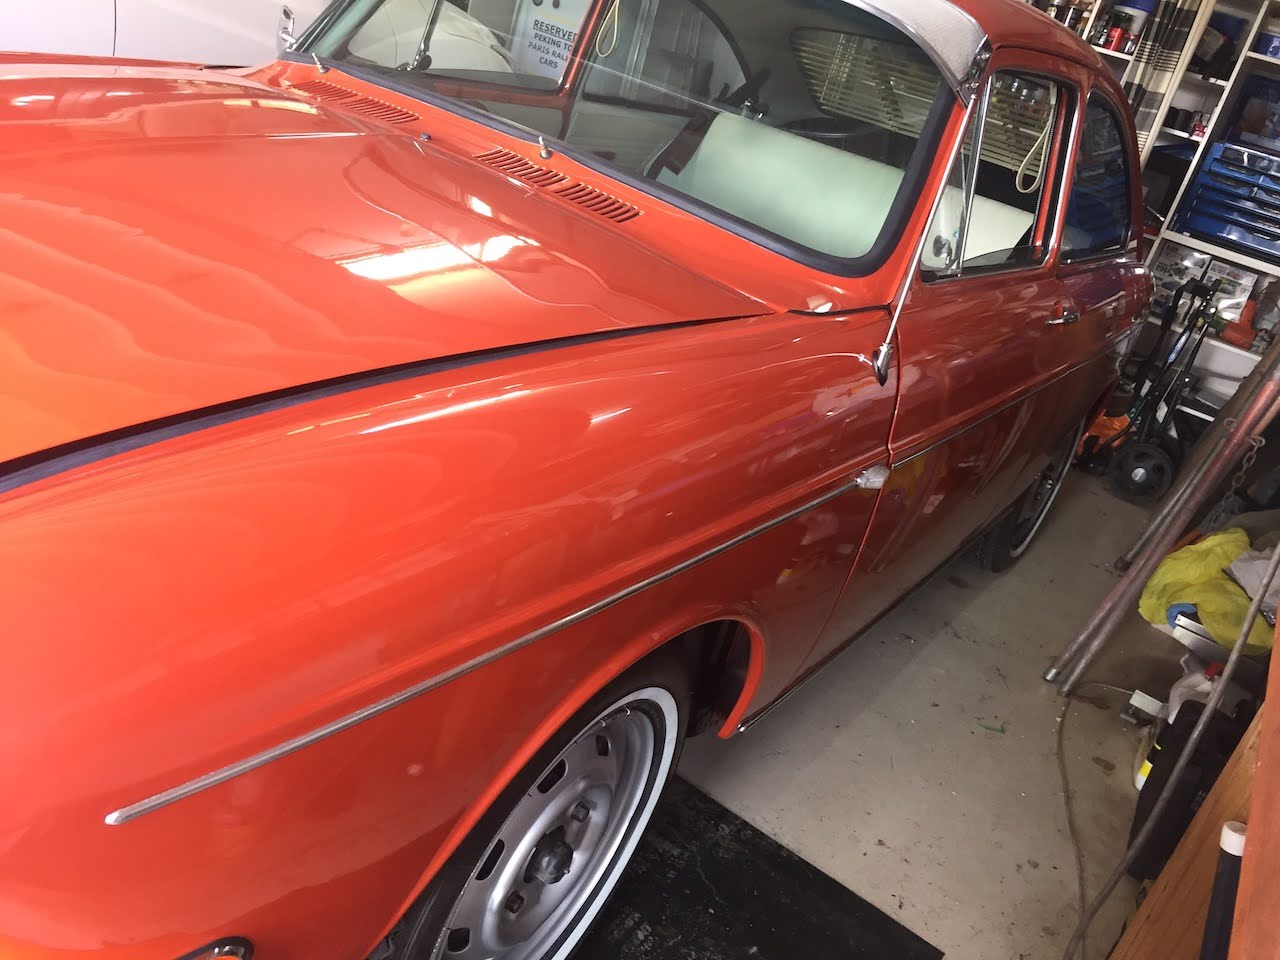
| Safely back home ! |
I needed to get Clementine out of Classic Car Clinic as they were due to get very busy, and I am still waiting on the carburettors as well as some new hot air piping for the exhaust. In addition, Steve and I spent a while on the wiring, but kept blowing a fuse (the car, not us !) - there seems to be a short somewhere. We had headlights, sidelights front and rear. but there seemed to be a problem in the indicator switch. We also decided we need a new headlight dimmer relay as well as a new indicator relay, and as these would take a couple of days to arrive, it was expedient to take Clementine home and out of their way. So Cheaper Towing came and picked her up and brought her home.
 |
| Rear bumper & number plate |
Apart from the bigger items detailed above, there are lots of smaller things still to do. First of all I fitted the rear bumper. This was relatively straightforward - When they had straightened it, they had done a good job. I found a couple of the original bolts were a bit the worse for wear, so I bought some new ones, and fitted the bumper. Looks great. Even put the number plate on to see how it looked !
 |
| Clip from starter |
When I pulled the car apart, I found a few assorted items inside which were not fitted, and it was time to find out what they were, and the online VW forum The Samba as usual came up trumps. First up was a small black cover which even had a part number on it - Turns out it is off the starter motor, and most people lose it. I have found mine, so I will attempt to fit it as intended.
 |
| Cover for ugly hoses |
Second item was a big plastic cover which I have never seen before. Again
The Samba came to the rescue - it turns out to be a cover which hides a couple of rather ugly drain hoses which hang down in the footwell. This goes over these hoses, hiding them from view. Once I have the carpets fitted (ie after the wiring etc is completed), I will fit it in place. In the meantime I will drill a couple of holes for self tapping screws in preparation.
The headlight and indicator relays finally arrived from NSW (held up by traffic james over the Queensland border ???!) and I thought I would fit them and see if they solved any of the wiring issues. Having fitted them, I connected the battery and tried the headlights - All good. I then tried
 |
| Battery isolation switch |
putting them on high beam - all good. I dipped and undipped them a couple of times, and suddenly heard the click of a blown fuse. Bugger. I felt the headlight relay and it was warm, which I am sure it is not meant to be. At that point I resigned myself to the fact that, once again, I was too far out of my depth. I will be getting an experienced electrician to take it from here before I do any more damage ! So I fitted a battery isolation switch so that wehn not using the car I can easily disconnect the battery. I fitted it close to the front seat belt unit so that is wouldn't get kicked accidentally, drilling the hole through the rear kick board. I had a couple of spare earthing cables so was able to use them to connect it all up.
 |
| Holes in roof for visors |
Next "small" job was to fit the new sun visors. The car came with only one, and that was rusty, split and totally unusable, so a pair of brand new ones was purchased. But first I had to find the holes for the fastening screws for
both the visors and the clips - Unfortunately Steve the trimmer had not marked them bevore he put the new liner over the top ! Fortunately I had a
 |
| One visor in place |
good photo of the bare steel roof section before it was covered to guide me, and since the VW headliner has thousands of tiny perforated holes in it, but using an unfolded paper clip, I was able to poke around, looking for the holes, without damaging the liner. Eventually I found them, and then gradually and very carefully opened up the headliner using a very sharp scalpel. One has to be so careful not to slip because an cut that is not covered by the clip will look terrible - Ruin the whole car. Finally got the RH one sorted and screwed in with no slips, and moved on to the small clip near the centre of the car.
This small clip has two holes - One larger one for a locating pin on the back of the clip, and another smaller hole for a fastening screw - Both visible in the "before" photo. Once I found the holes using the paperclip again, I couldn't get the pin on the back to push in to the locating hole, and as always you are trying not to force anything in case either it or the roof liner gets damaged. Eventually I realised that there was both a small ridge on the side of the pin, plus a small cut out in the hole that seemed to match - But it was 90 degs out ! Puzzled over this for a while then realised that you pushed the ridge through the hole and then twisted the whole clip 90 degs into position before inserting the screw to hold it all in place. Fiendishly clever once you realise how it works - It is just
 |
| But the clip doesn't reach the clip |
hard when you are doing it for the first time and there are no instructions. When I got the car there were no clips in place - They had perished so much with age they just fell to pieces. Anyway, the first clip and visor was in.
BUT - The pin on the visor did not reach the clip - It was too short ! Obviously I hadn't put them in the wrong positions because the holes were pre drilled in the bodywork. Cut a long story short, over a weekend I was on the internet, as well as emailing the supplier. Initially I was lead to believe that one needed to pull out the pin a little way until it located properly in the clip, but when I did this, a small locating cuff which was supposed to be hidden came into view
 |
| Two visors in |
and although it now located into the clip, it didn't look pretty. Then on Monday morning the supplier told me to leave the pin in position, but to pull the whole visor slightly outwards on its shaft, until the pin (in its correct position) located into the clip. I had tried doing this earlier, but it was so tight that I was frightened that if I pulled too hard it might break the visor, and I didn't need that. In the end, with continued twisting and careful pulling, the visor slowly started to slide out, until I had moved it far enough for it to locate in the clip. Finally success. As usual, the second one was easier because I knew what I was trying to do, and soon there were two sun visors in place and looking good.
 |
| Fox Friday shipment ! |
Monday morning saw a new shipment of Fox Friday beers arrive from Benn and Sarah's Tasmanian Craft Brewery. We really enjoy the flavours of Benn's beers and we look forward to trying some of these new releases over the coming days. 8.5% by alcohol - Woooo !! While that was chilling in the fridge, I got a
 |
| Upper side strip in place |
couple more small jobs done. First I fitted the chrome trim strips down the sides of Clementine - A narrow strip high up , and also a shorter wide strip that just runs along
 |
| Wider low strip below the door |
the sill below the doors. After cleaning them up with the wire brush I was able to re-use most of them, and once the strips were fitted, they really lifted the car. The strips have blemishes, but I like that - They fit in with the car itself which, while it looks great, is far from perfect.
 |
| Rear view mirror fitted at last |
Just before I finished for the day I decided to have one more go with the internal rear view mirror. It came off by banging it backwards with my fist, after the windscreen had been removed, and ever since the roof liner was installed back at the beginning of May I have tried to get it refitted. Without seats in the car I have to sit unsupported or lie on the floor, so when trying to put the mirror into its spring loaded fitting, I was at full stretch - Not easy. It kept defeating me - It would be almost there, and then just click back out again, and each time I failed I got more and more upset with it. But today was the day - and this time I took a big rubber hammer in with me ! I almost had it several times, still trying to be careful not to damage the pristine roof liner. In my last effort, I actually miss hit with the hammer and struck the arm right on the rear edge - And it clipped right in !!! I was dumbfounded ! I had been hitting it in the wrong place ! Ah well, another thing learned.
 |
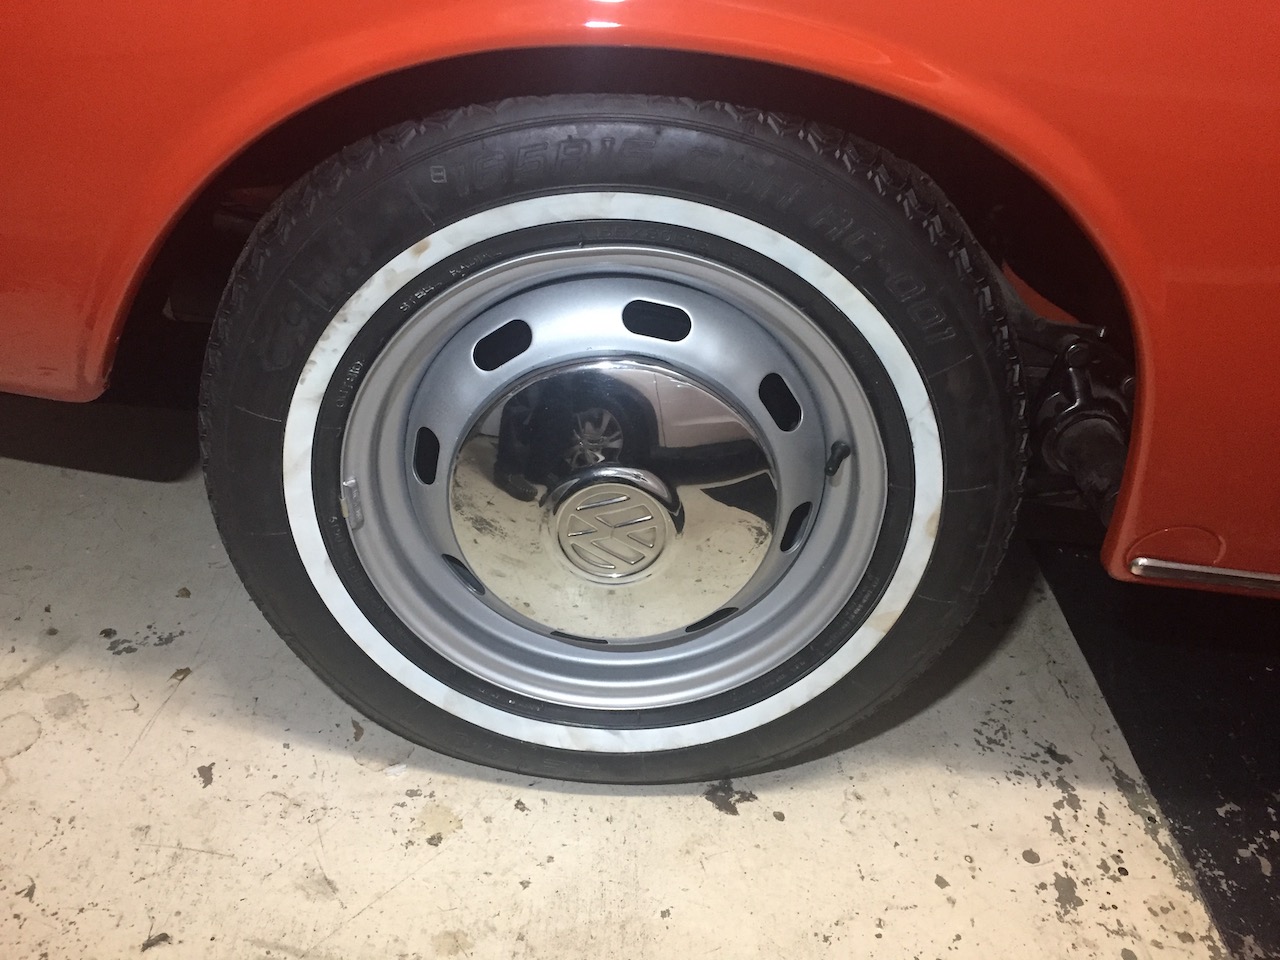
| Hub caps fitted |
With all this success, and with those chrome strips fitted, I just had to fit the 4 chrome hub caps before I shut down for the night ! These were one of the first things I cleaned up back in October, and they have been sitting idle on the shelf since then, so it was with great satisfaction that I banged them into place - Maybe I should have left them till last, but I couldn't wait ! I needed a lift.
Still lots of things to do - The list seems endless ! In fact, the smaller the job, the longer it seems to take and the more difficult it seems to be !
Rest of the pics are here :-
https://photos.app.goo.gl/R69JGwGyEt3s98qC9


No comments:
Post a Comment